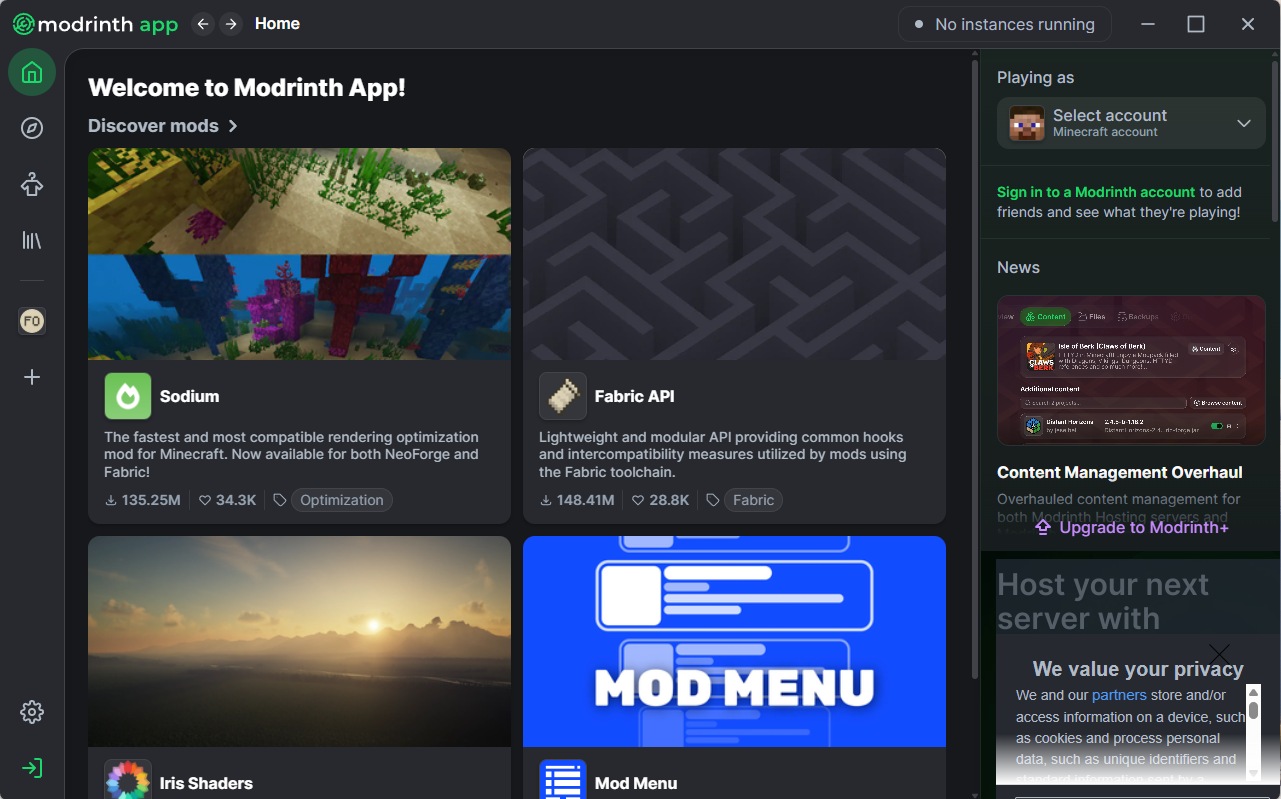
Step 1: Open up the Modrinth app
First, you'll want to open up the modrinth app. We have a guide on how to install it here

Using a custom modpack instead of a premade one mainly comes down to control vs convenience. You decide exactly what goes in—whether that’s tech mods, magic, performance tweaks, or just quality-of-life improvements. Custom packs can be leaner and faster because you only include what you need. Want hardcore survival? Chill building? Vanilla+? You can tailor everything instead of adapting to someone else’s vision. If you’re running a private server, a custom pack lets your group agree on exactly what you all want—no compromises.
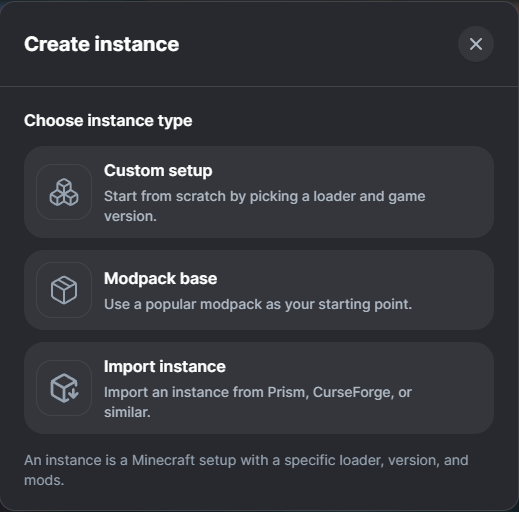
In this guide, you’ll learn how to create a simple custom modpack using Modrinth by adding and managing mods in one place. No advanced setup or optimization required—just a clean, easy way to put together your own modded Minecraft experience.

Each of these cards contains a link to a page that answers a commonly asked question about using Modrinth!
PebbleHost offers premium game server hosting for every type of Modrinth resource including mods, plugins and datapacks! Enterprise hardware with AMD Ryzen™ 9 9900X CPUs, 99.99% uptime, and 72-Hour money-back guarantee.
View Minecraft Server Hosting